Google Analytics 4 (sometimes called GA4) are coming to Shopify. It's a radically improved version of the current Google Analytics (standard Universal Analytics), focusing more on privacy and cross-browsing between the app and website.
To continue using GA to measure traffic and conversions in your Shopify store, you need to upgrade to GA4 by the end of June 2023. It sounds like a lot of time, but we recommended starting today, so there are no surprises, and you have some time to review the collected data.
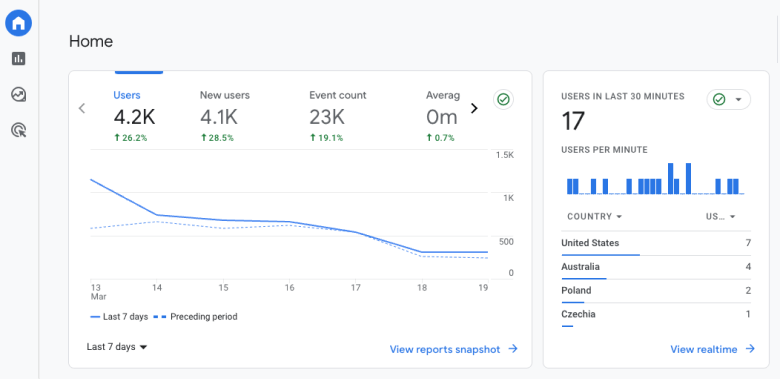
Since many merchants are unsure how to implement the new GA4, we put together this comprehensive guide which includes all necessary steps and relevant screenshots.
Step #1: Create GA4 property in your GA account
As a first thing, you will need to create a new property under your Google Analytics account. If you don't have any yet, you can create a new one for free at https://analytics.google.com/.
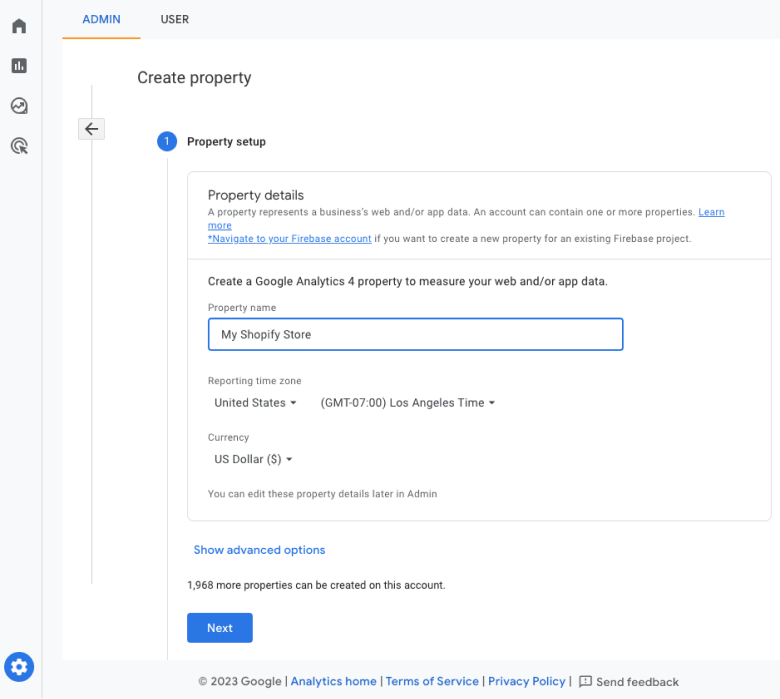
Once you are logged in to your GA account, let's prepare the GA4 property:
- Click on the cog-wheel admin icon in the bottom-left corner
- Click on Create property and enter its name, time zone, and currency
- Click on Next, select your industry and business, and confirm by clicking on Create
Step #2: Add web data stream to your property
Before we get into how to add a data stream, you might be wondering what it is and why it's important for your Shopify store.
What are data streams, and why do you need one for the Shopify store
Data streams are useful if you run multiple entities where users can interact with your brand. These are typically online store (website), mobile app (iOS or Android), social media (Facebook, Instagram), and physical store.
GA4 enables you to monitor your business from a single point of view by adding multiple data streams under a single property. In the Universal Analytics (i.e. previous GA version), you would have various properties for each channel.
If you run a "simple" online Shopify store, think about the web data stream as a simple flow through which you will pour data into the GA4 property.
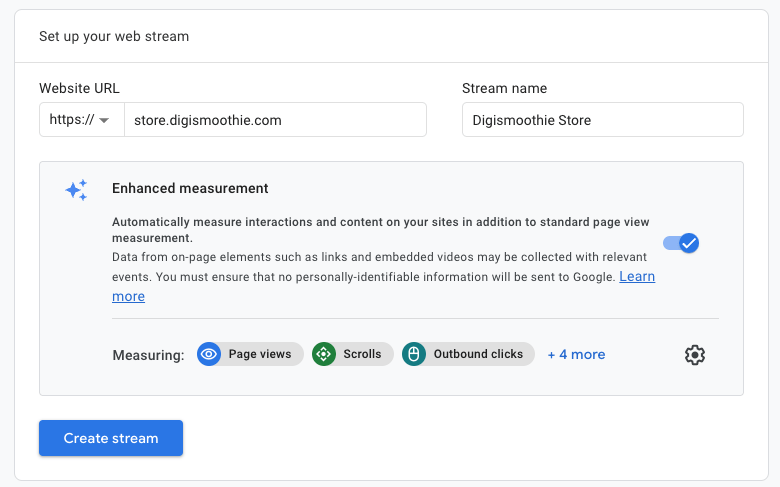
Now let's finally add the web data stream to your new GA4 property.
- Click on the cog-wheel admin icon in the bottom-left corner in your Google Analytics
- Select the newly created GA4 property and click on Data streams
- Click on Add stream and select Web
- Enter the stream name and URL, which should be your primary domain
- Keep the enhanced measurement enabled and confirm by clicking Create stream
Step #3: Add the Google channel app to your Shopify store
Now it's time to add Google tracking to your Shopify store. Luckily, this is very easy and requires no coding or technical knowledge.
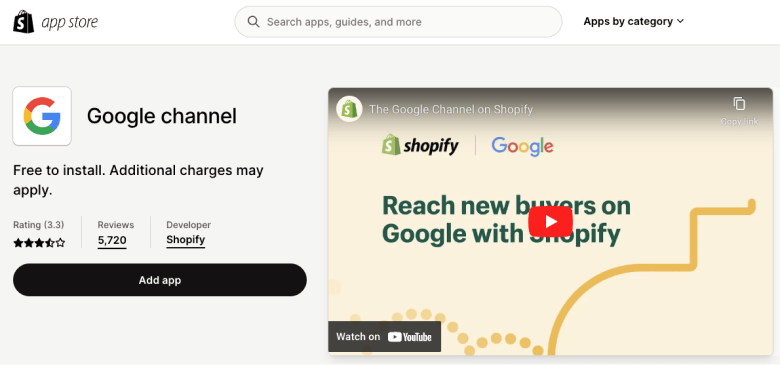
- Go to the Google app listing in the Shopify App Store
- Click on Add app and install it into your store as any other app
Step #4: Connect your GA4 property
Go to your store admin and open the newly installed Google app.
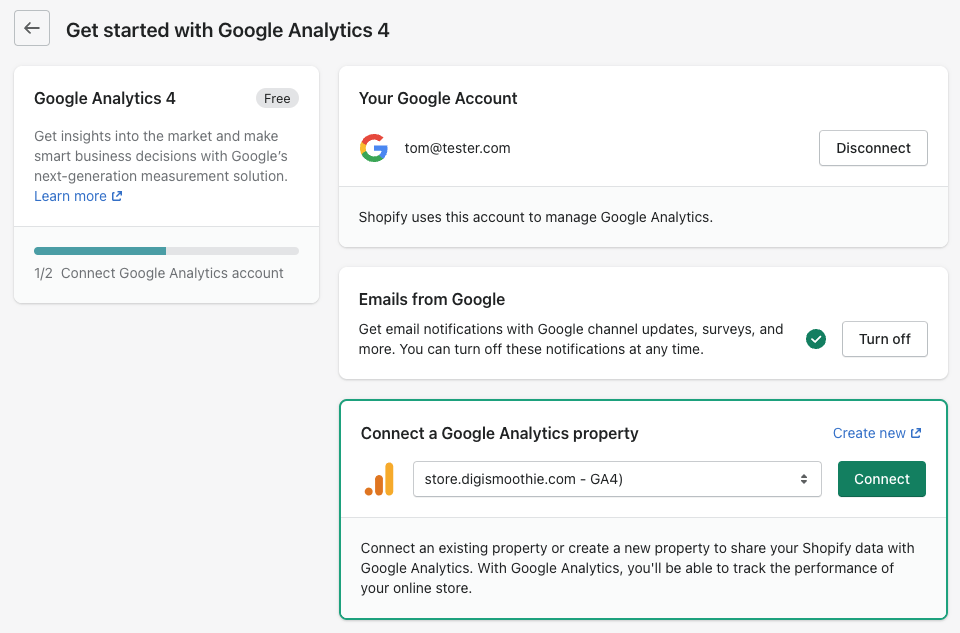
- Click on Connect your Google Account and select the account under which you have created the new GA4 property
- Once connected, select the GA4 property (it has "GA4" at the end) and click on
That's it! Now you have existing GA4 property connected to your Shopify store.
Step #5: Monitor the data to validate the tracking
Go back to Google Analytics and open the new GA4 property. You should immediately see the user activity in the real-time report. If not, open your store on your mobile device and incognito window and check again.
If you still don't see any data, edit the web data stream and enter your original .myshopify.com domain.
If it still doesn't help and you don't see any data in the next few hours, contact our agency team, who can manage the implementation/migration on your behalf.


