Shopify provides every merchant with a pre-defined checkout process. It works fast and securely with no extra effort from your side. But you might want to tweak it to make the checkout more fitting to your store’s design, eliminate friction, add special offers, etc.
All e-commerce platforms incorporate custom checkout fields: for instance, adding a note or gift message to the order is available in any major solution (WooCommerce, Squarespace, Eqwid, and others). But Shopify is probably the most flexible in how you can modify the checkout without custom development.
In this post, we’re going to discuss what Shopify checkout customizations are doable and how to implement them.
How customizable is a Shopify checkout?
Most checkout pages you see on Shopify stores are pretty much the same. The page is divided into two parts: the left one is for the customer to fill out shipping and payment information, and the right one displays the order summary.
You can’t change this structure and checkout logic. What you can do revolves around changing the page’s appearance and adding extra fields. But even the slightest cosmetic changes can greatly affect the checkout experience and increase your conversions.
What if you want to change the checkout structure?
❗ Currently, only Shopify Plus merchants have the ability to impact the checkout logic by editing the checkout.liquid template. However, it can be too risky, and Shopify itself isn’t happy about it. Editing the checkout code poses the following risks:
- It might break something on the website and not let customers complete orders at all.
- It can be tricky and labor-intensive to integrate third-party code.
- When added, third-party JavaScript can access sensitive data, which can lead to security issues.
To address this, Shopify is creating a checkout extension architecture to allow developers to create checkout customization apps. You can tweak a lot of things already using various Shopify apps, but you can expect way more customization opportunities with the emergence of checkout extensions. Based on the UI components and the branding API provided by Shopify, these extensions will allow augmenting the existing parts of the checkout, replacing some elements, and adding entirely new functionality.
On the Shopify Editions Winter 2023, Shopify announced the possibility of the one-page checkout.
Types of checkout customizations in Shopify
With that said, we’re going to cover 2 major types of checkout customizations available to you: the first one is theme changes you can easily implement yourself, and the second one is additional features incorporated with the help of Shopify apps.
1. Super-easy visual customizations of your Shopify checkout
For now, let’s see what you can do in your theme editor with no extra help. When you click on Customize next to your current theme, choose Checkout in the top menu and go to the Checkout section in Theme settings on the left.
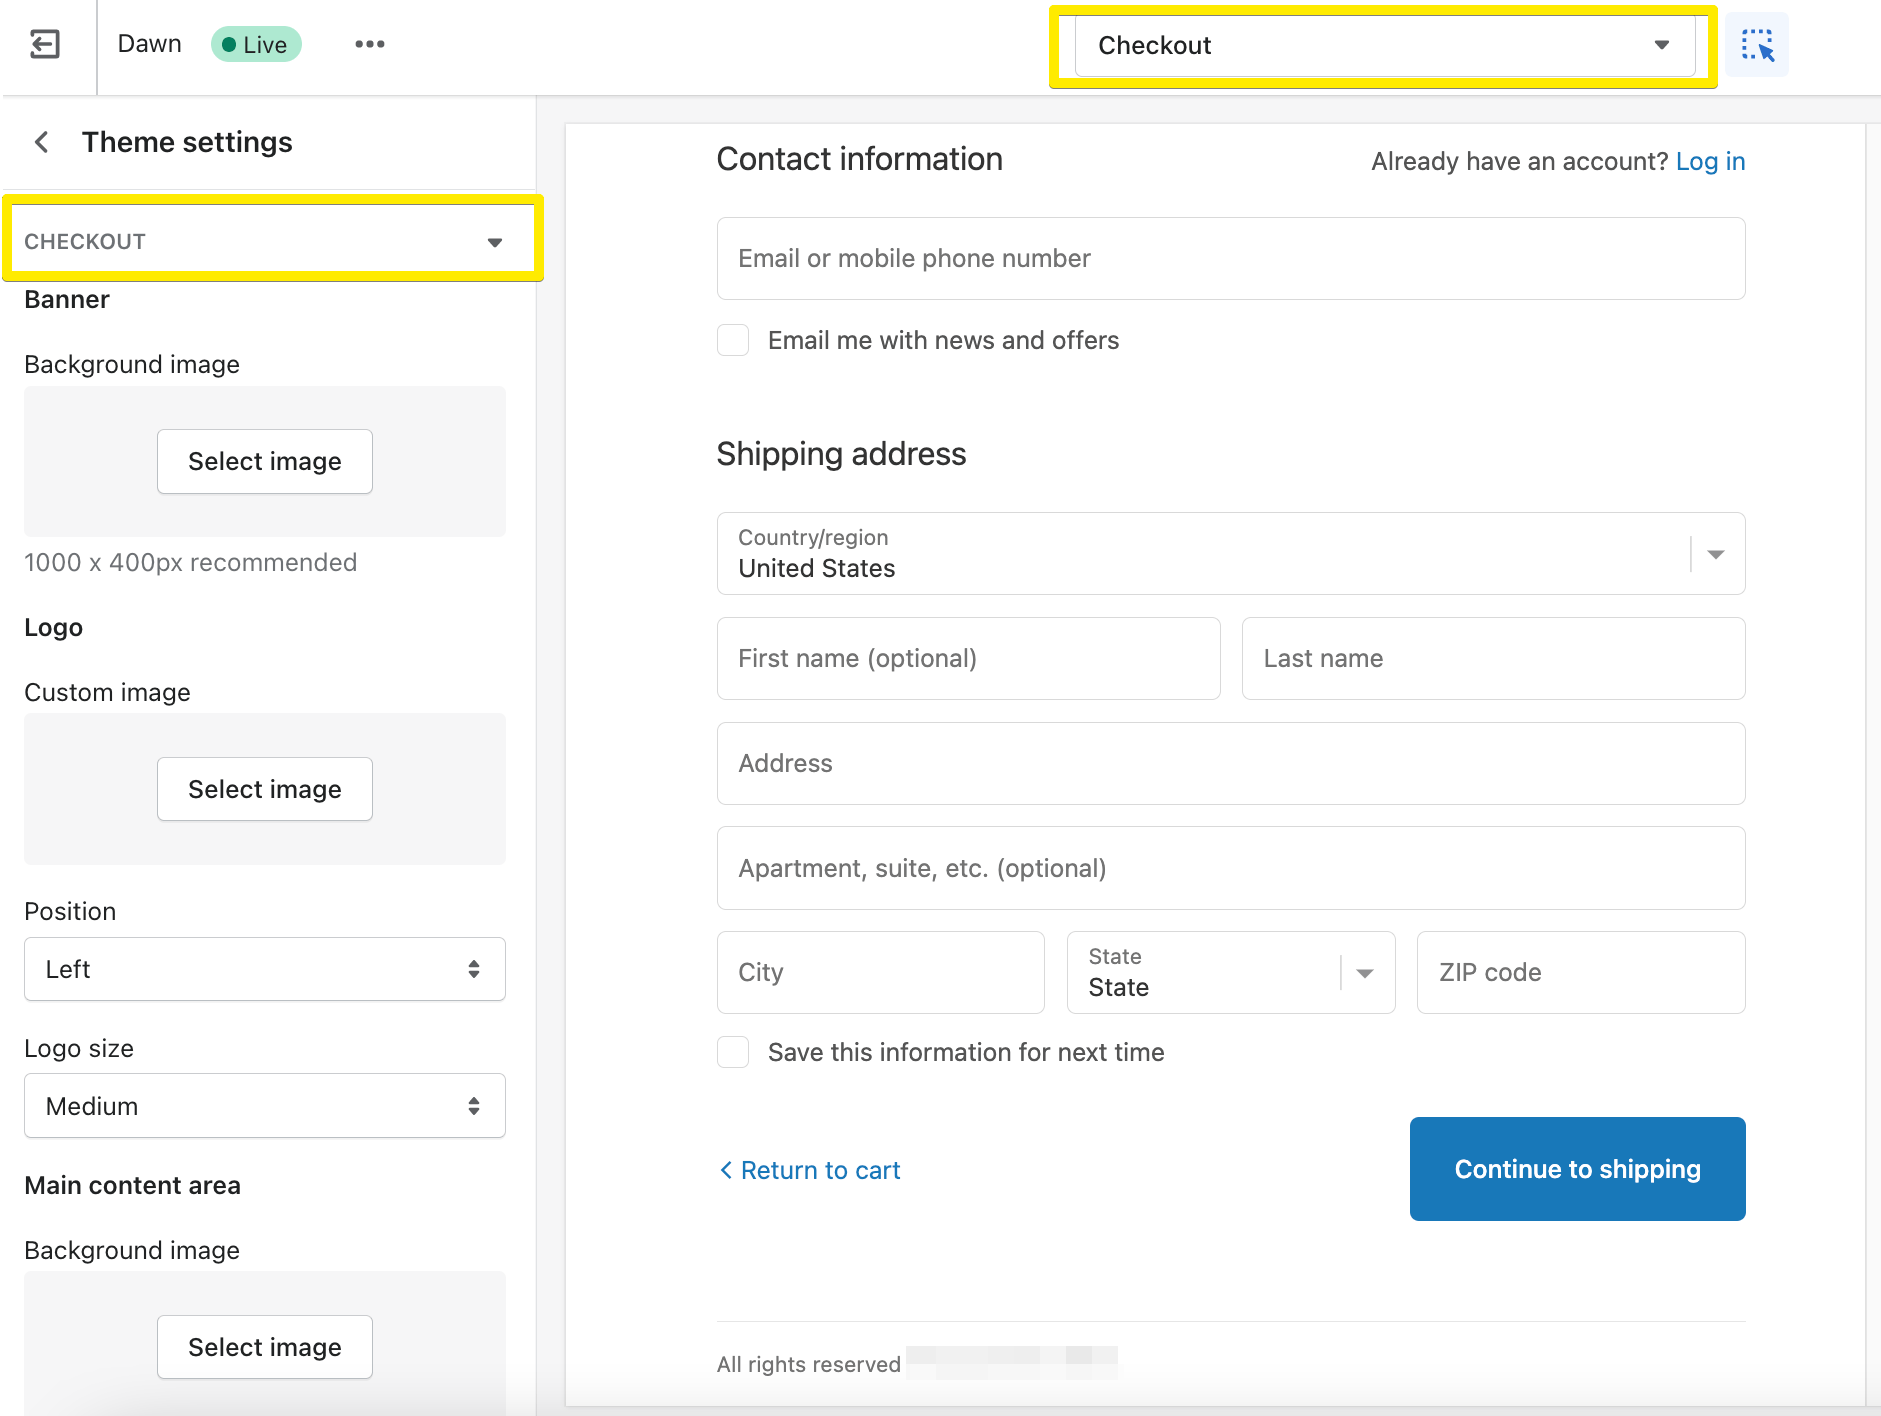
Here, you can do a lot of simple checkout customizations:
- Add your logo to the checkout page. Your logo should follow the customer from one page to another, creating a consistent brand image. Don’t let your checkout page just show your store’s name—feature a logo instead.
- Modify colors of page sections, text, links, and buttons. Instead of leaving default colors, you can set what fits your brand elements better. You can also set a background image for main page content and order summary, but it’s not a recommended practice—information in these areas should be distinctly visible.
Shopify provides you with several fonts as well. If you find a suitable one, choose it to personalize the look of the checkout.
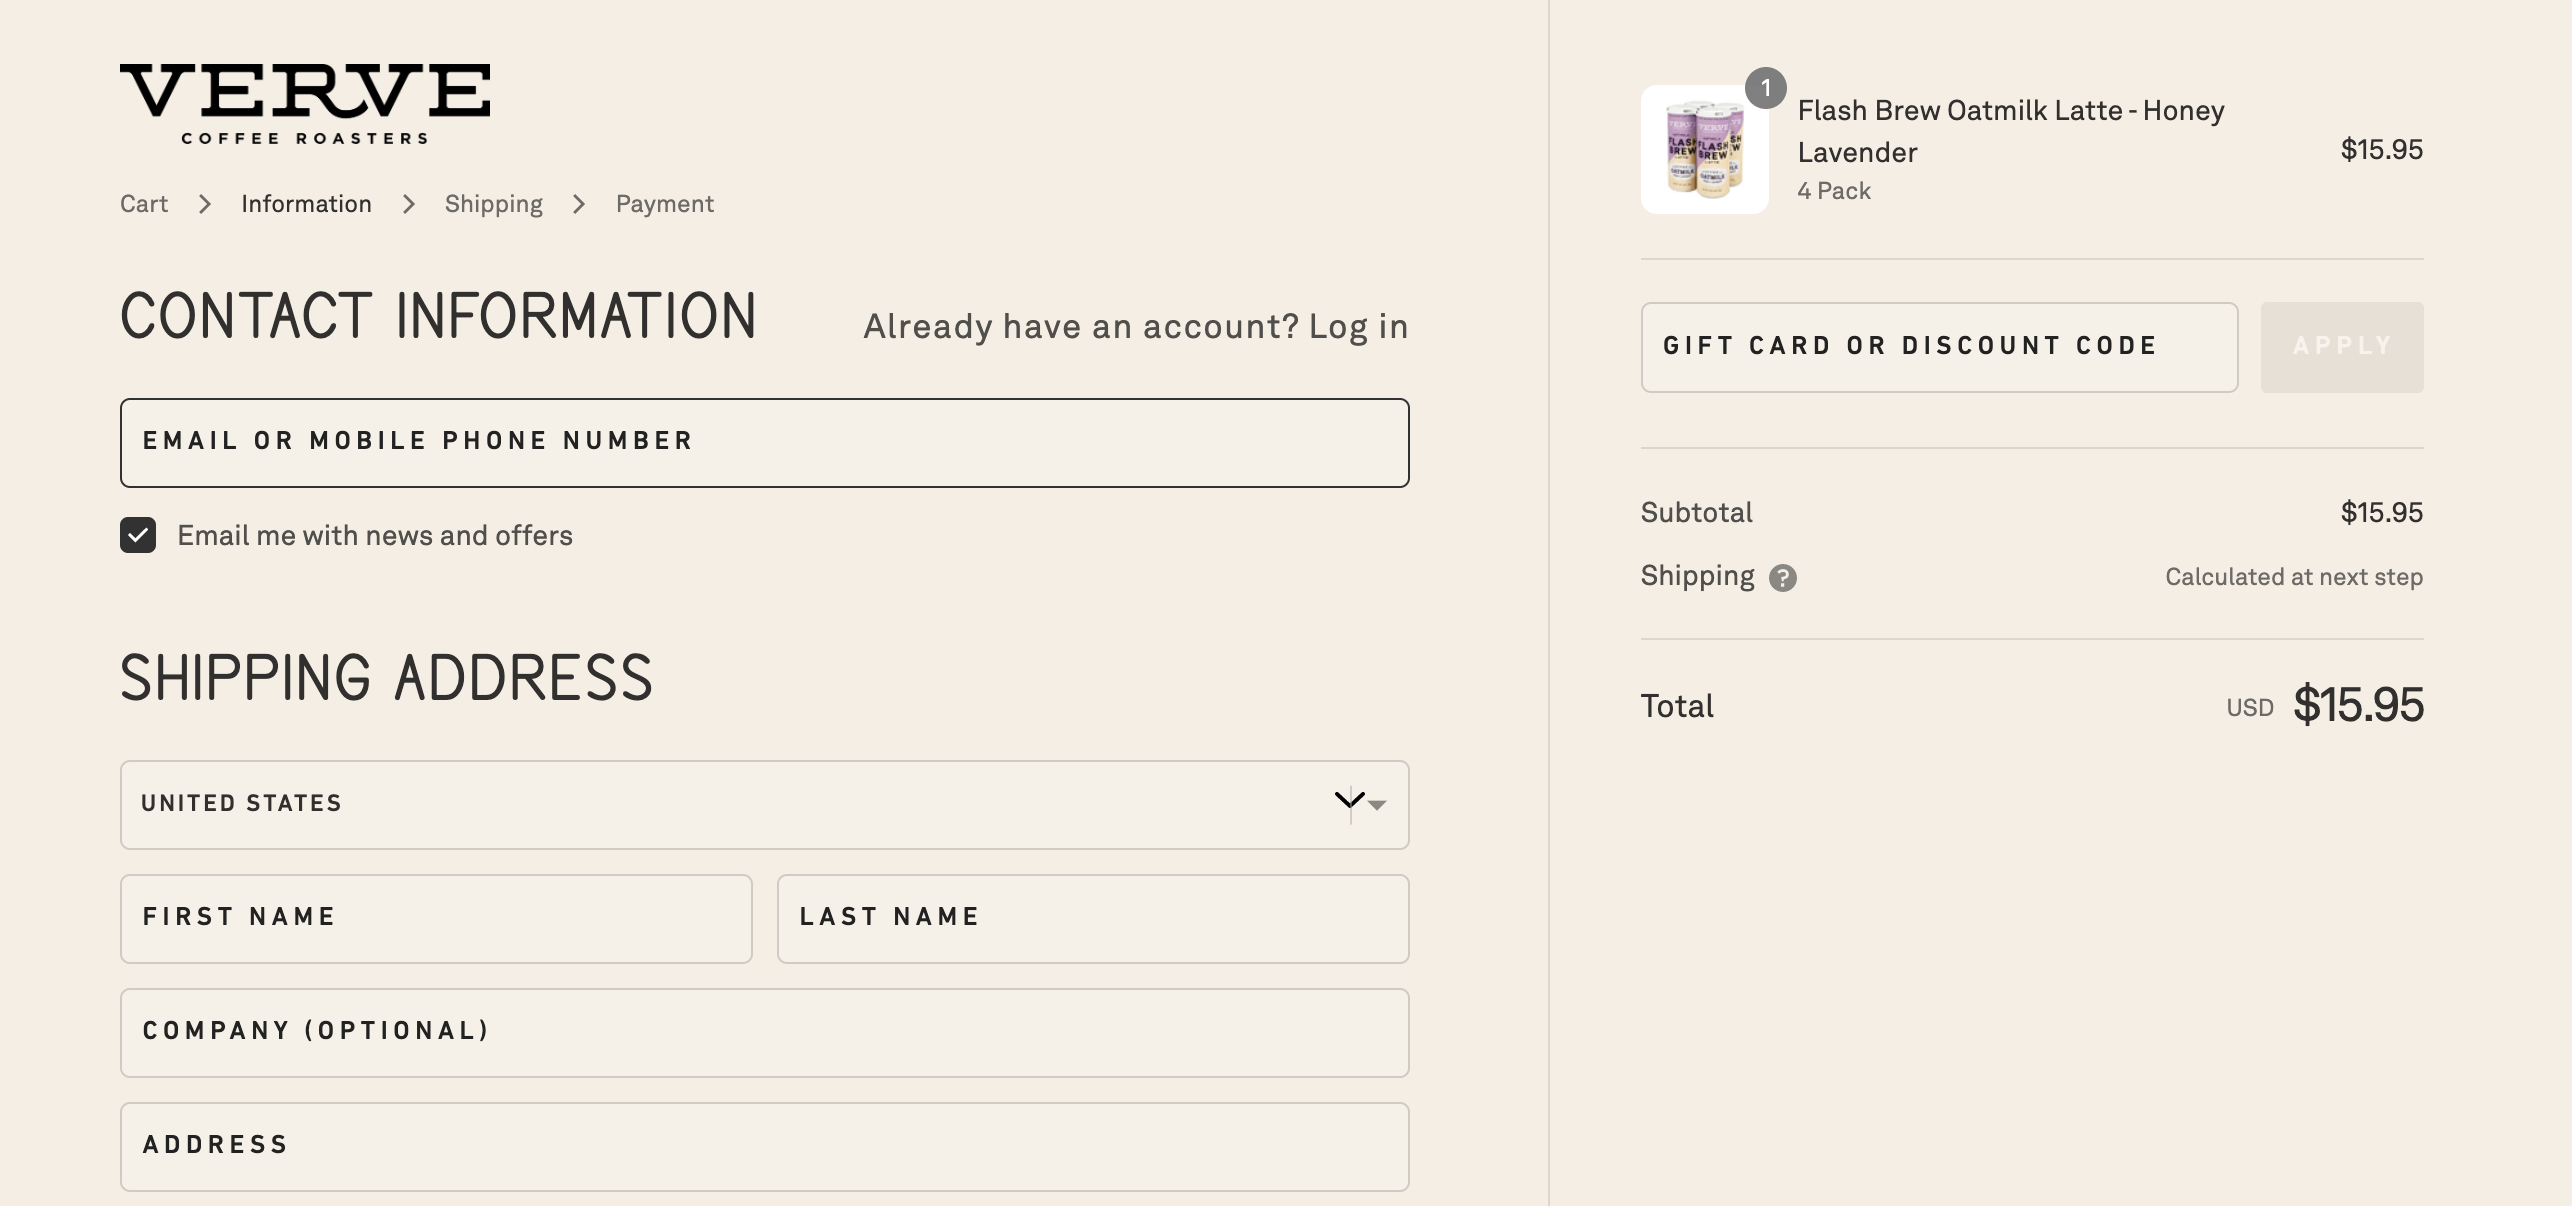
- Add a branded banner or a relevant image as a header. As little an element an image header is, it can completely change the look of your checkout page.
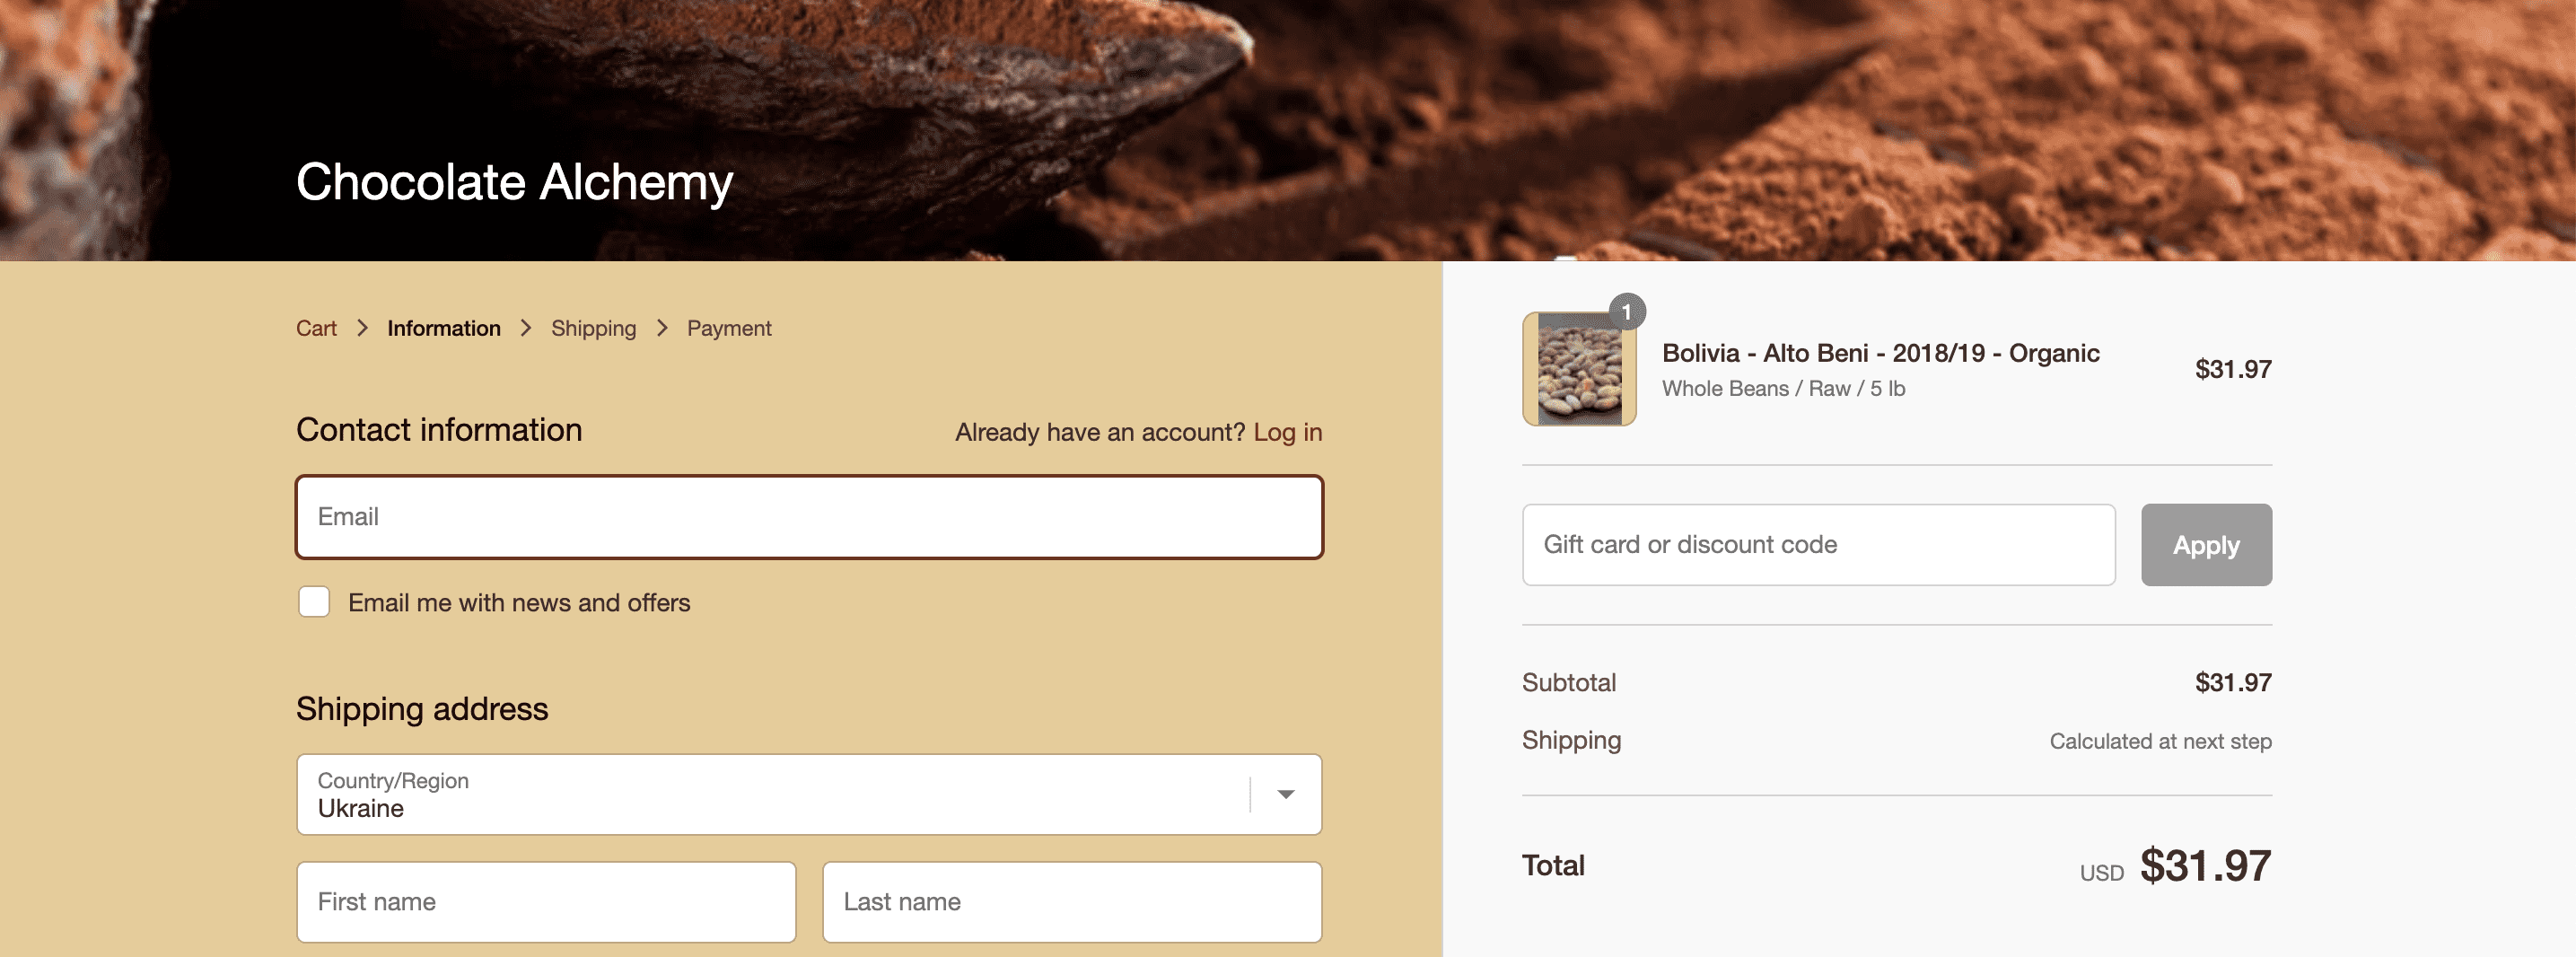
You can also modify some fields from your Shopify admin in the Checkout and accounts section:
- Edit marketing signups. You can add email and SMS signups and change the default “Email me with news and offers” to something else. To do the latter, click on the Customize checkbox labels and input your phrases in the respective fields.

However, if you want to highlight these fields by creating a special design for them or control where they are displayed, default settings aren’t enough. Shopify apps or custom coding will help you customize signup boxes.
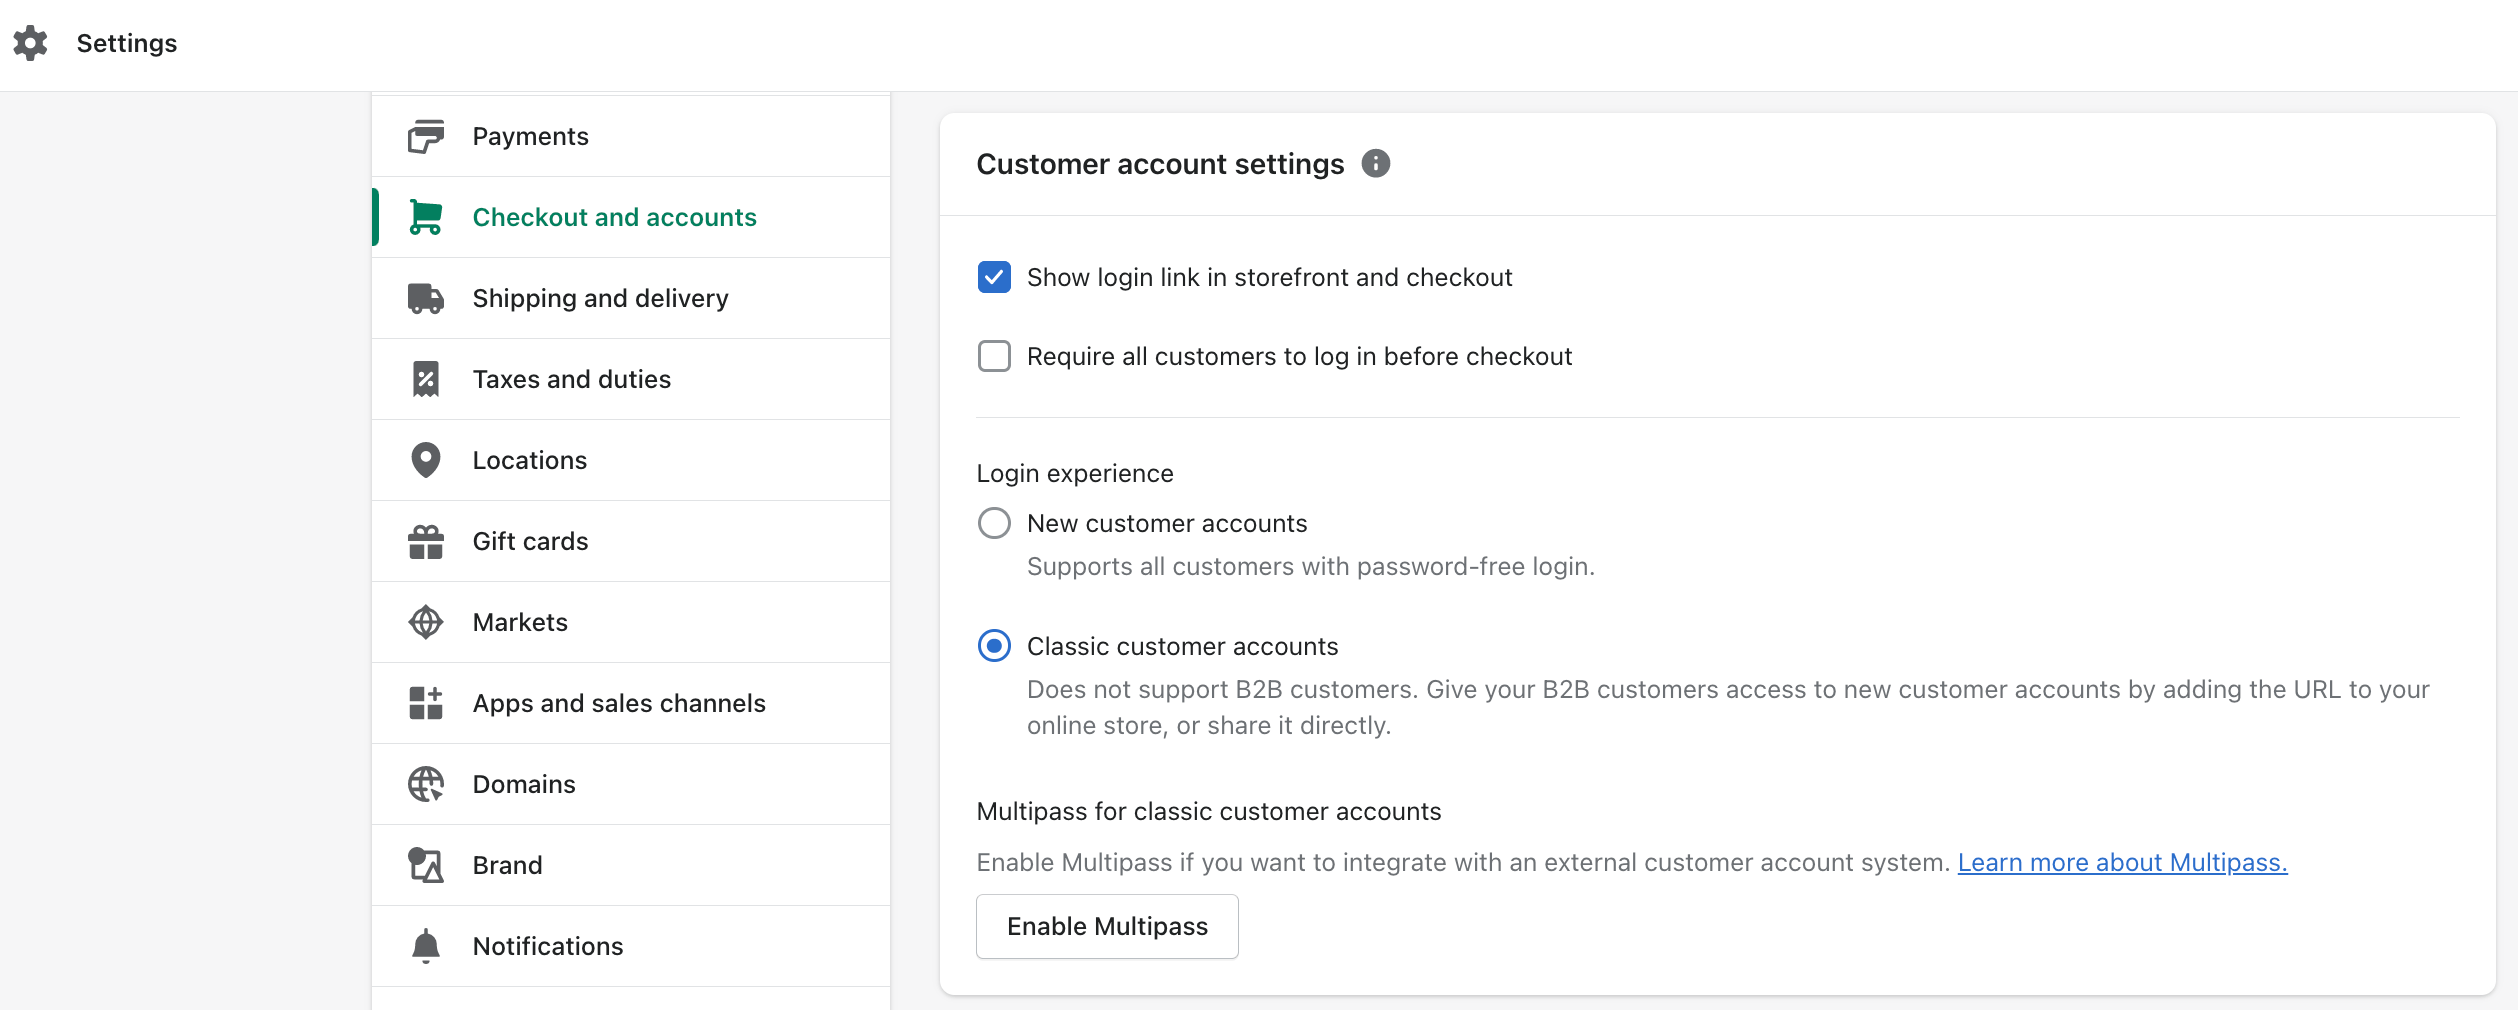
- Set customer login options and required input fields. In your admin settings, you can determine how visitors can make orders: allow guest checkouts, set Multipass, etc. Plus, you can adjust what content fields are shown as required and which ones are optional: for example, you can include or exclude the address line 2.
- Allow tipping. If it makes sense to your business, you can let customers express appreciation by enabling tipping at the checkout.
2. Shopify checkout customizations via apps or other tools
Various apps can help you make your checkout process picture-perfect and conversion-generating. Here are some examples of what you can do:
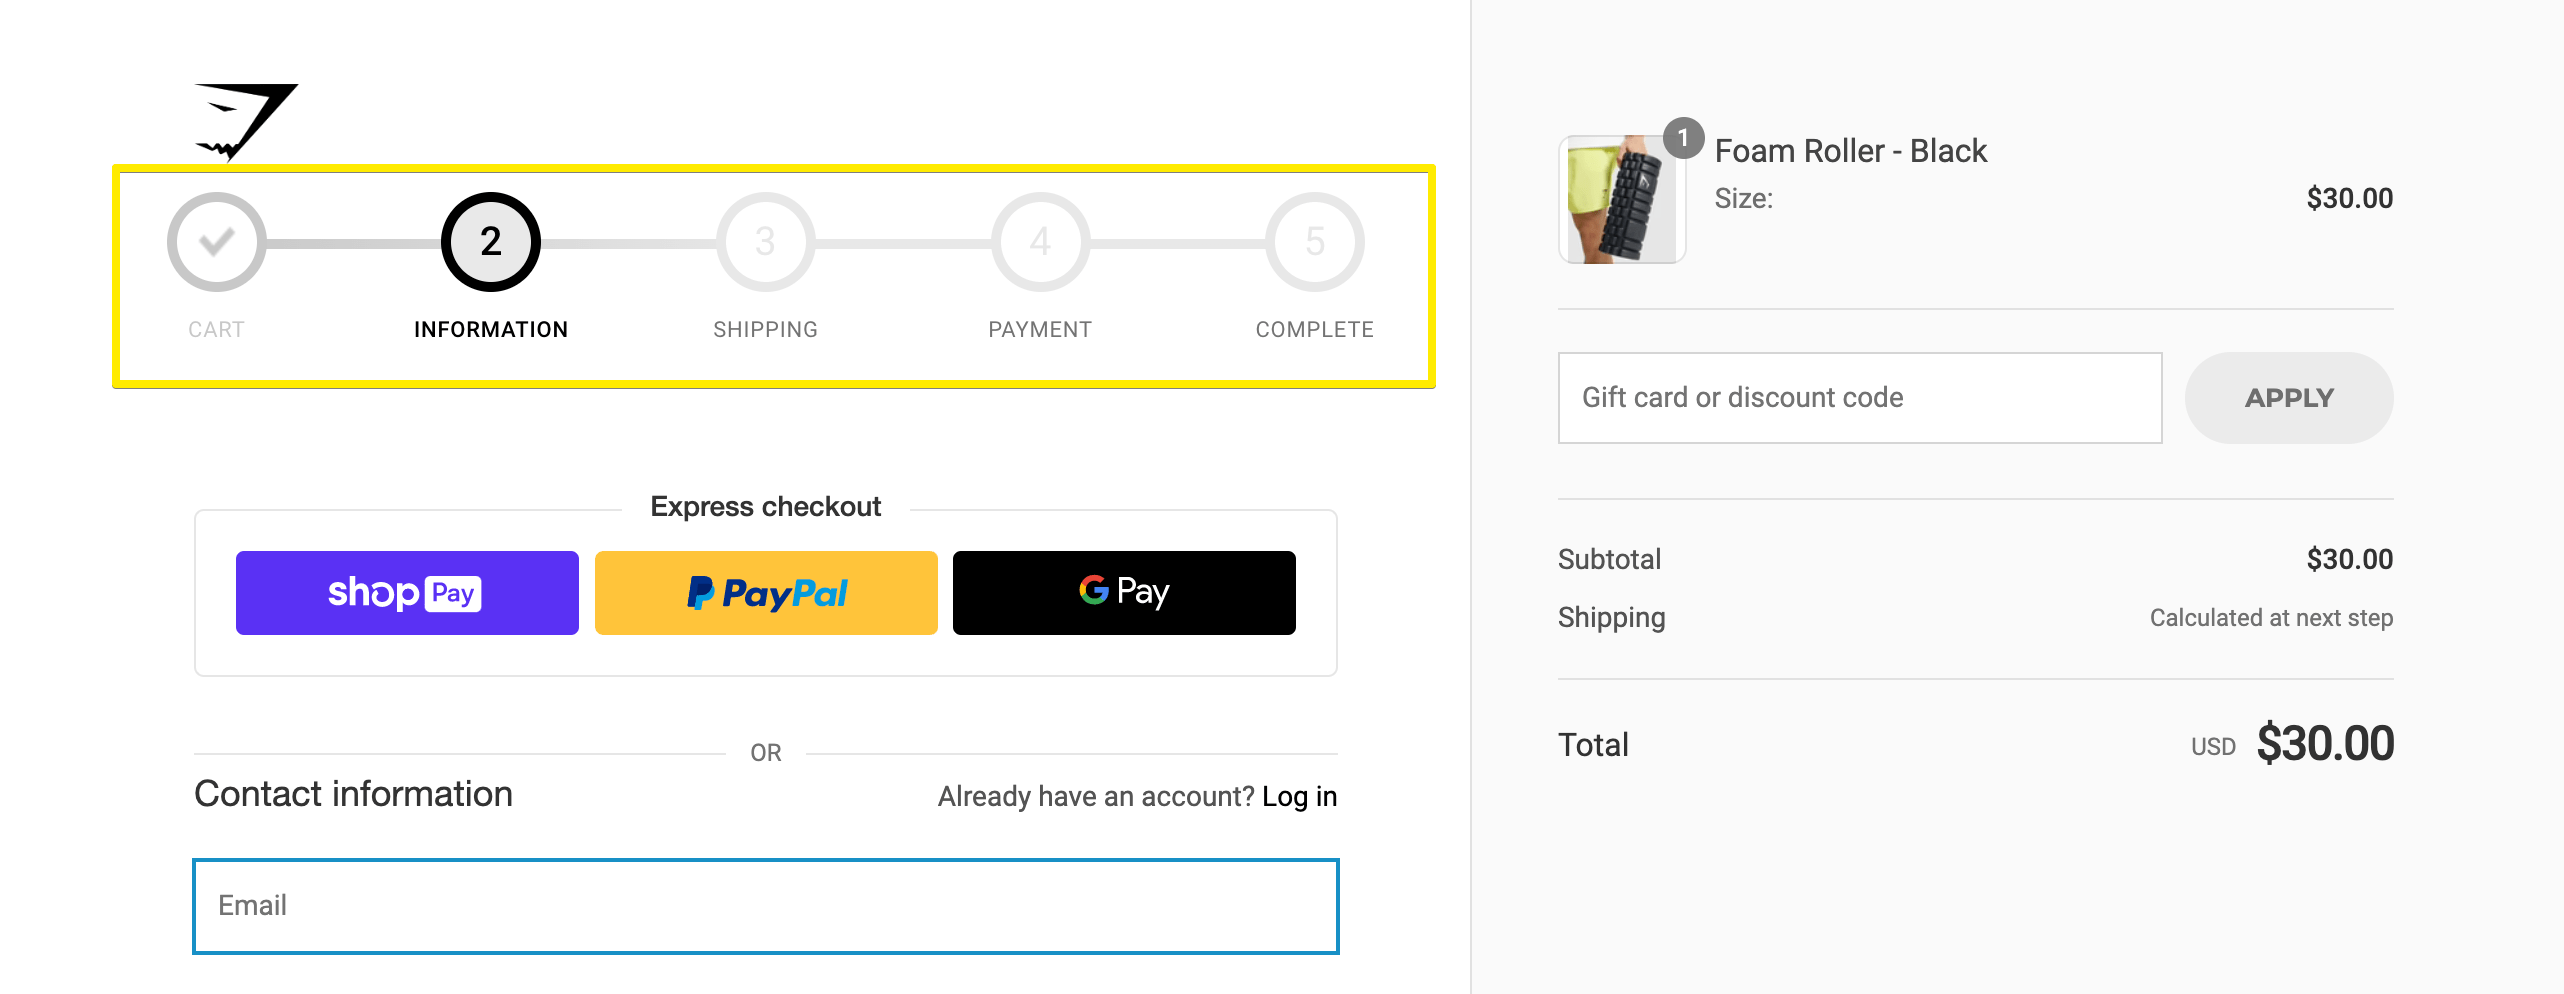
- Replace default breadcrumbs with the progress bar. Breadcrumb navigation automatically created for checkout is too small to catch attention. If you want your customers to clearly understand how many steps it takes to complete the order, you can add a progress bar.
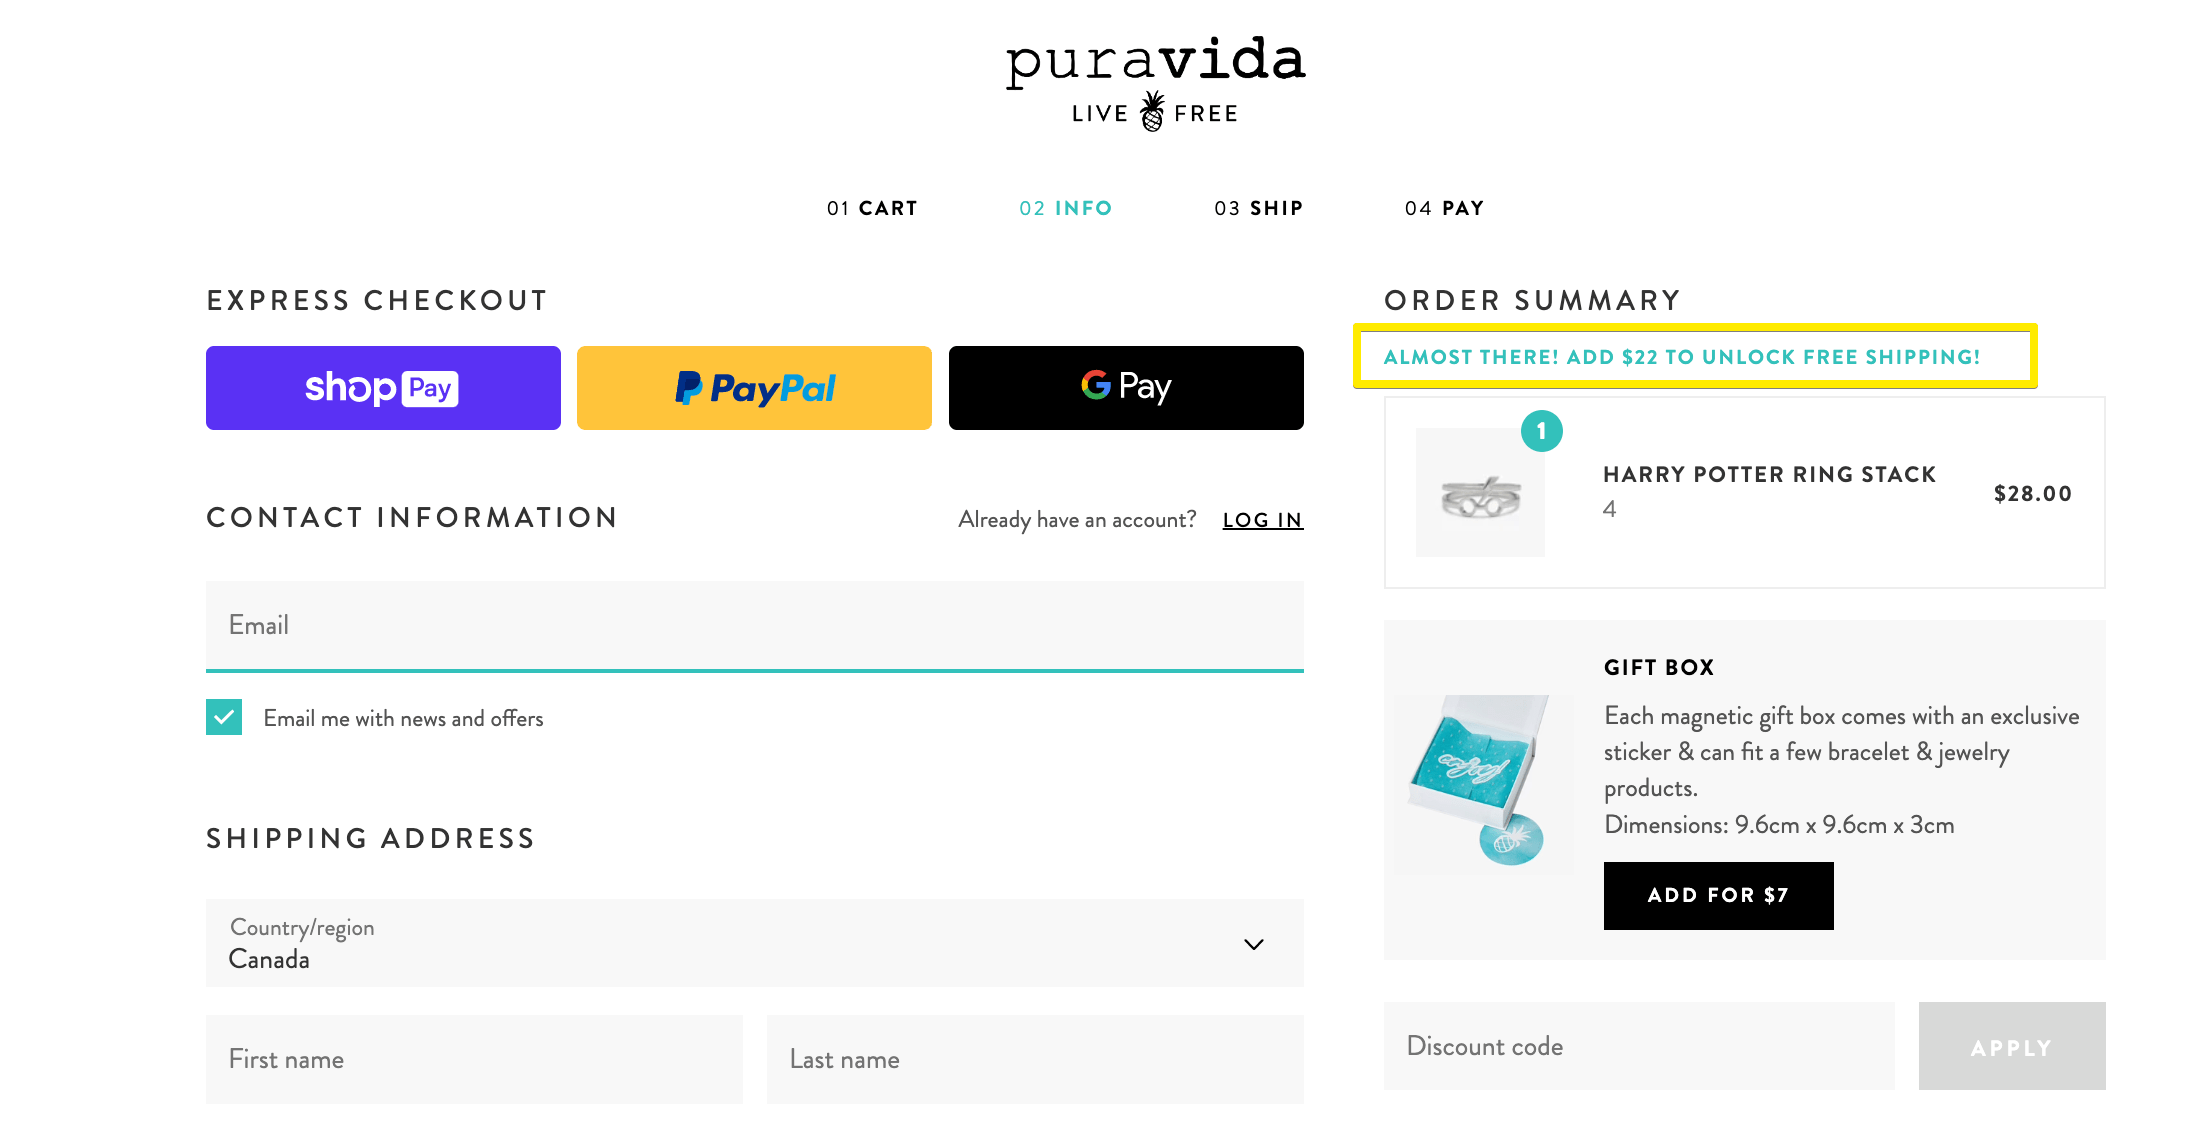
- Show a free shipping threshold. It makes sense to have a free shipping threshold repeated at different stages of the purchase process: you can add it in your store’s header, highlight it on the cart page and in the cart drawer, and also add it to the checkout (only when the condition for free shipping is not yet met).
- Add a free gift with purchase. If you’re using an app like Gift Box that allows you to give out free products, it will automatically show the gift in the order summary when the conditions you specified are met (spending threshold, for example).

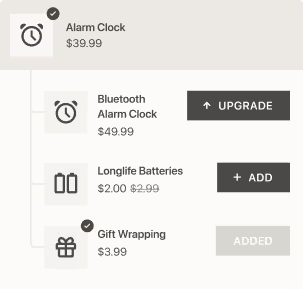
- Upsell and cross-sell products. Upselling techniques can work well at different stages of the funnel, including checkout. You can add post-purchase offers on the thank-you page with the help of Candy Rack. If you want to explore different ways and solutions to upsell at or after checkout, read our selection of the best Shopify upsell apps.
- Add a checkout timer. Urgency is a great motivation for customers to complete their purchases. Show them that your products are in high demand with the help of a countdown timer.

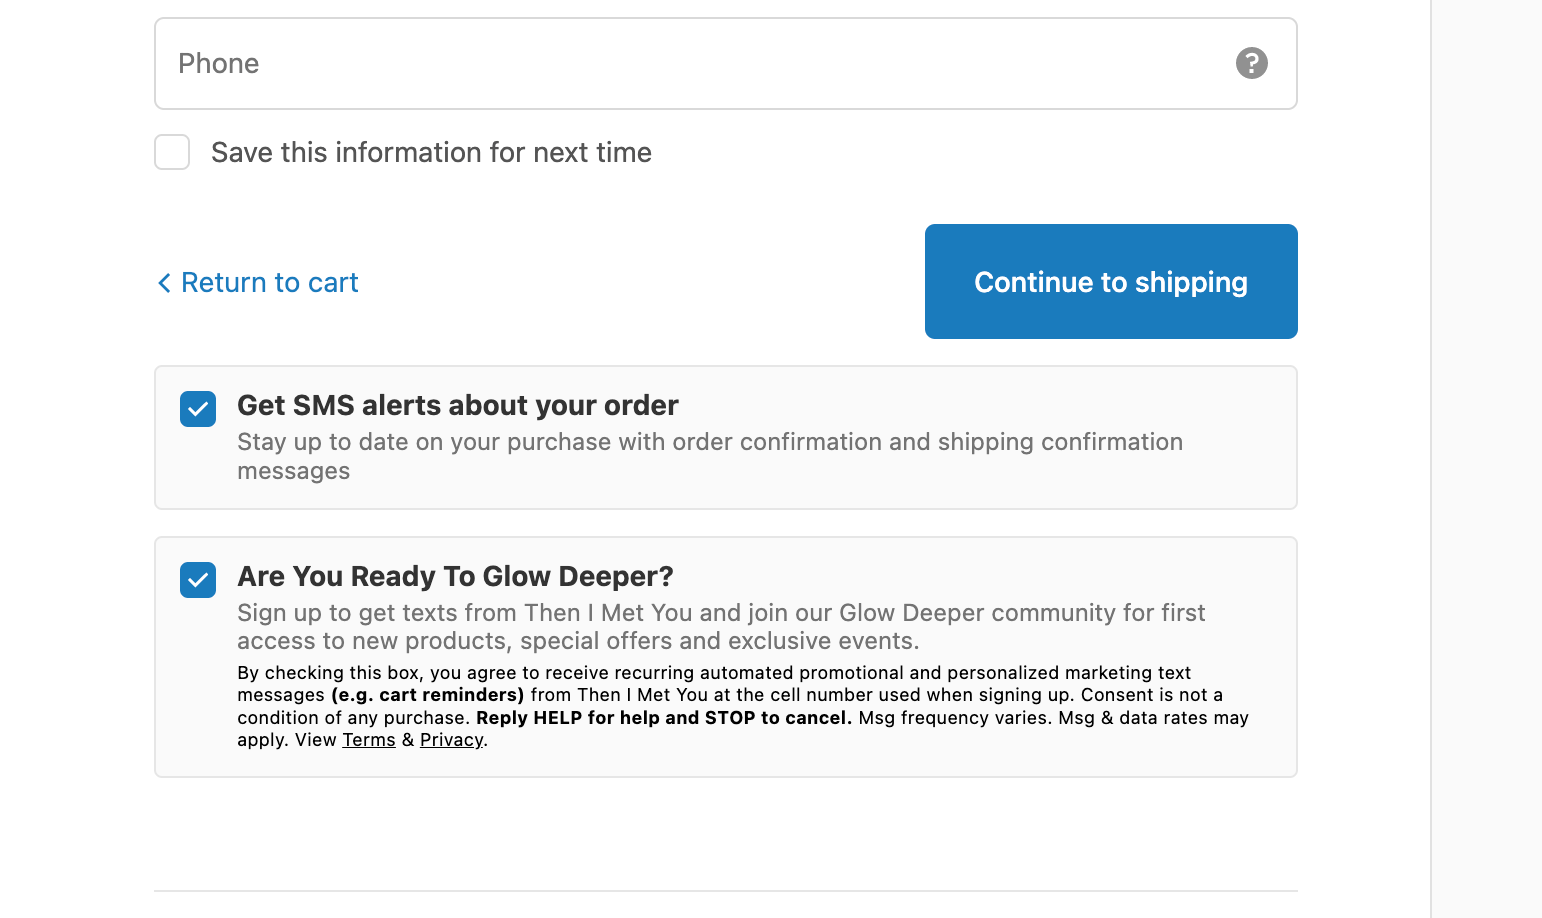
- Let customers sign up for email and SMS updates. This functionality is available in Shopify admin settings (we’ve explained how it works earlier), but with apps, you’ll have more flexibility in how to present signup options.
You can incorporate several signups: for your marketing campaigns and for shipping updates. Apps like AfterShip will help you with the latter.
- Add trust badges. Apps like Trust Me will help you easily add badges with supported payment methods or other trust indicators.
- Show contact details or other helpful information. Why leave some areas blank if you can remind customers about the benefits of your products? You can create a special section below the order summary:
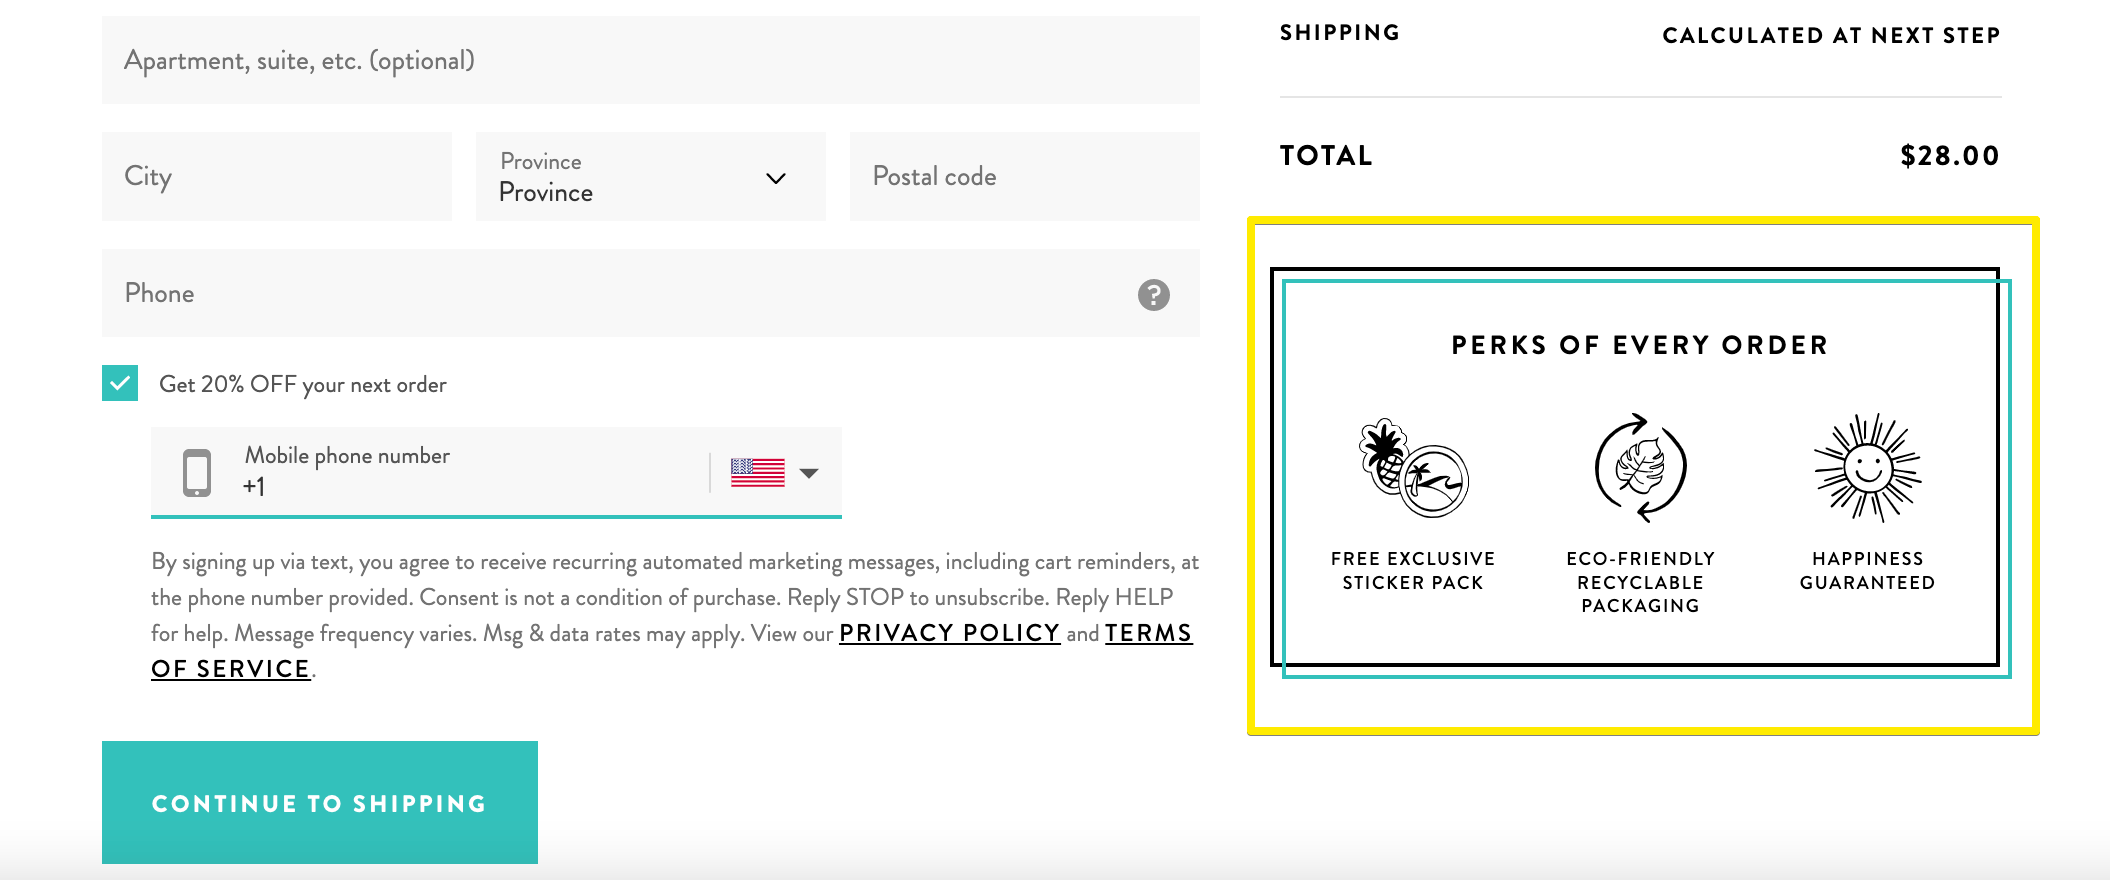
Or, you can remind customers of your contact information. This can decrease the cart abandonment rate as people will be more likely to resolve the issues they have.

- Allow customers to leave comments. Apps like Checkout Comments will help you place an additional field to the checkout where you can ask for feedback or let customers leave personalization requests.
- Make the order summary sticky. For customers not to lose sight of their order when completing shipping and payment fields, you can use a sticky order summary (it will move along with customer scrolling).
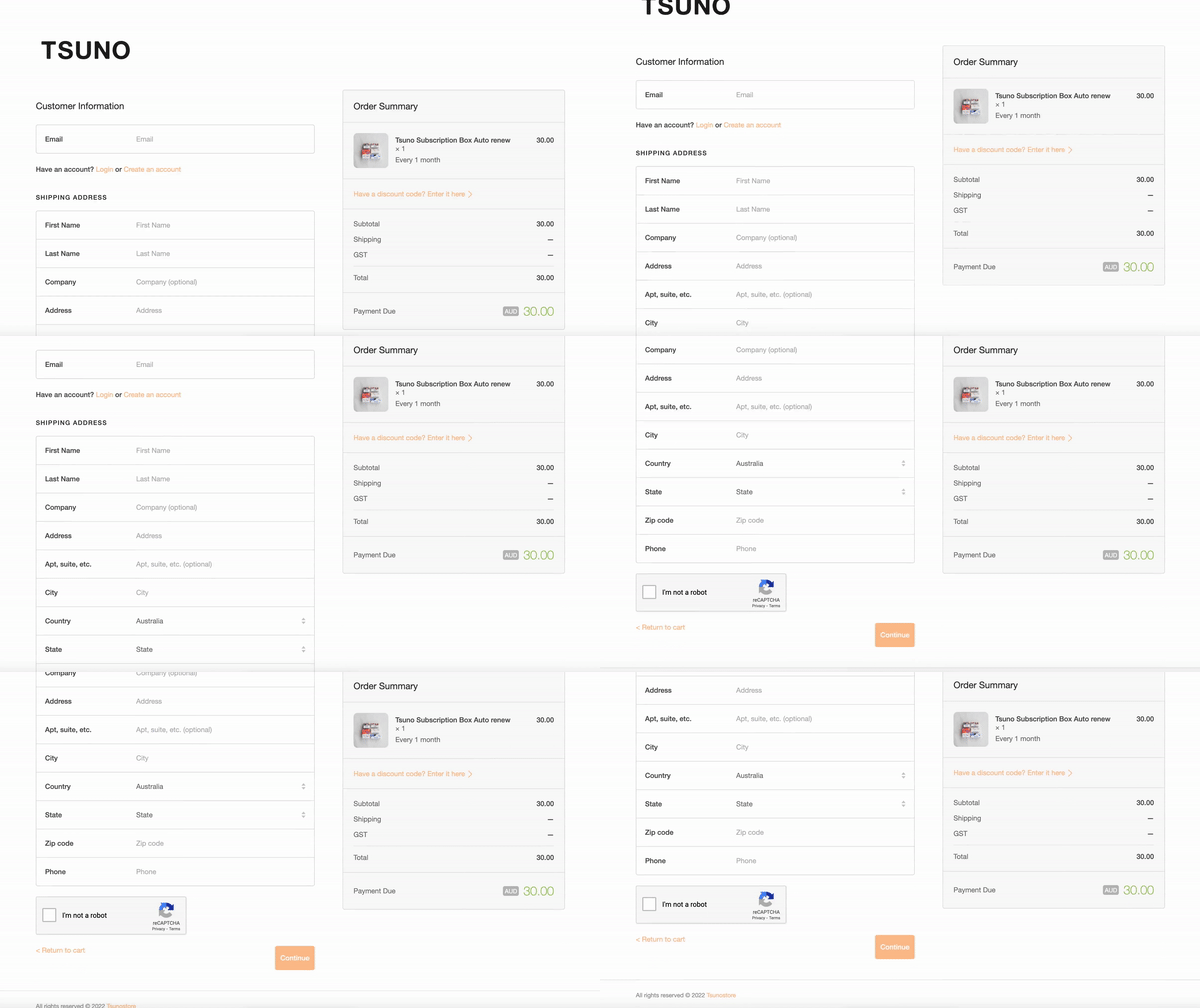
- Create a single-page checkout. There are third-party tools like Checkify that will help you design a checkout experience that includes all the steps on a single page.
We hope the features we’ve mentioned will inspire you to customize your checkout to make it irresistible. For more tips, check out our guide to Shopify checkout optimization.


