It's a common practice that every online business has customers who just drop off during the checkout and never finish the intended order. Following up with these customers and gently reminding them makes total sense. Using the so-called abandoned checkout e-mails, you can recover between 5 to 10% of otherwise lost orders.
Shopify offered this functionality as part of their platform. It worked fine, but if you wanted more control over these e-mails together with reporting, you had to use a third-party app like Payster.

Shopify's strategy has evolved with the release of a fresh marketing automation tool designed to tackle abandoned checkouts. The new e-mails bring lots of advantages:
- Fully customizable template (colors, sections, contents, etc.)
- Custom timeline (i.e., send first after 1 hour, second after 24 hours, etc.)
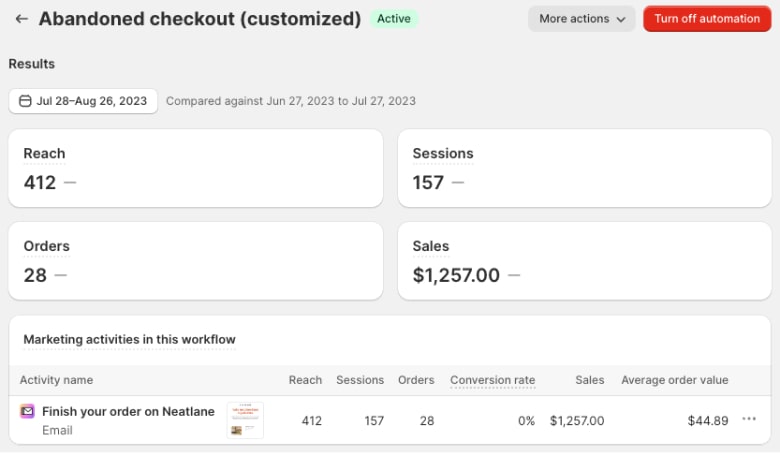
- Reporting and analytics so you know how exactly each e-mail in the series performs
How to migrate from the old to the new abandoned checkout e-mails
Together with the release, Shopify is also sunsetting the original abandoned checkout e-mails. So it's important to migrate from the old to the new ones. The old ones were "buried" under Settings > Checkout. To migrate to the new ones under marketing automations, follow the steps below:

- Go to your store admin > Marketing > Automations
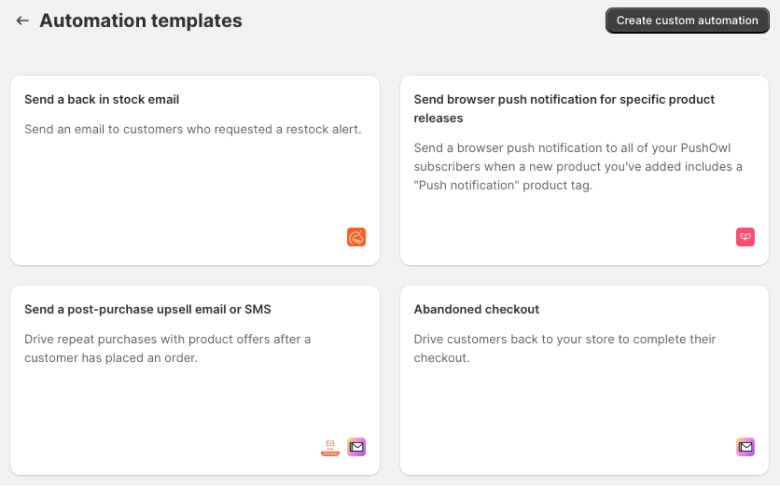
- Check if you see any active automation called "Abandoned checkout." If not, click on "Create automation" and select "Abandoned checkout". Confirm by clicking "Turn on automation"
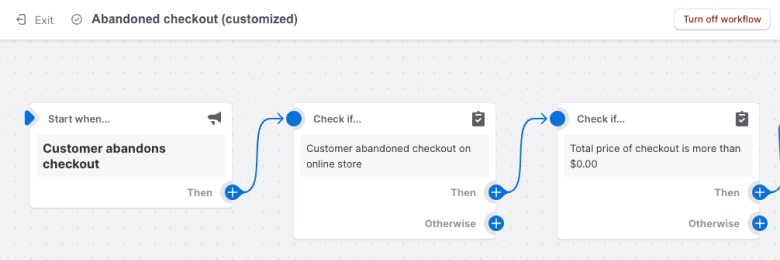
- Once the automation is created, click on it and review its settings
- Click on the e-mail and "Edit." Review the e-mail and customize it per your needs. Use "Send test" to see how it looks in your inbox. Once you are happy, click on "Save"
- Test the flow on your live store. If you didn't receive the e-mail, review the automation workflow

Please note that once you activate the new abandoned checkout e-mail workflow, you can't return to your old one.
The new abandoned checkout e-mails are available to all Shopify plans, including Shopify Basic. But works only for the Online Store sales channel, the Buy Button sales channel, and the Plus Wholesale Channel. They don't work on Shopify POS, Shop, or third-party sales channels.
If you want to optimize your Shopify checkout further, see our ultimate guide, 20 tips to customize & optimize your Shopify checkout.


